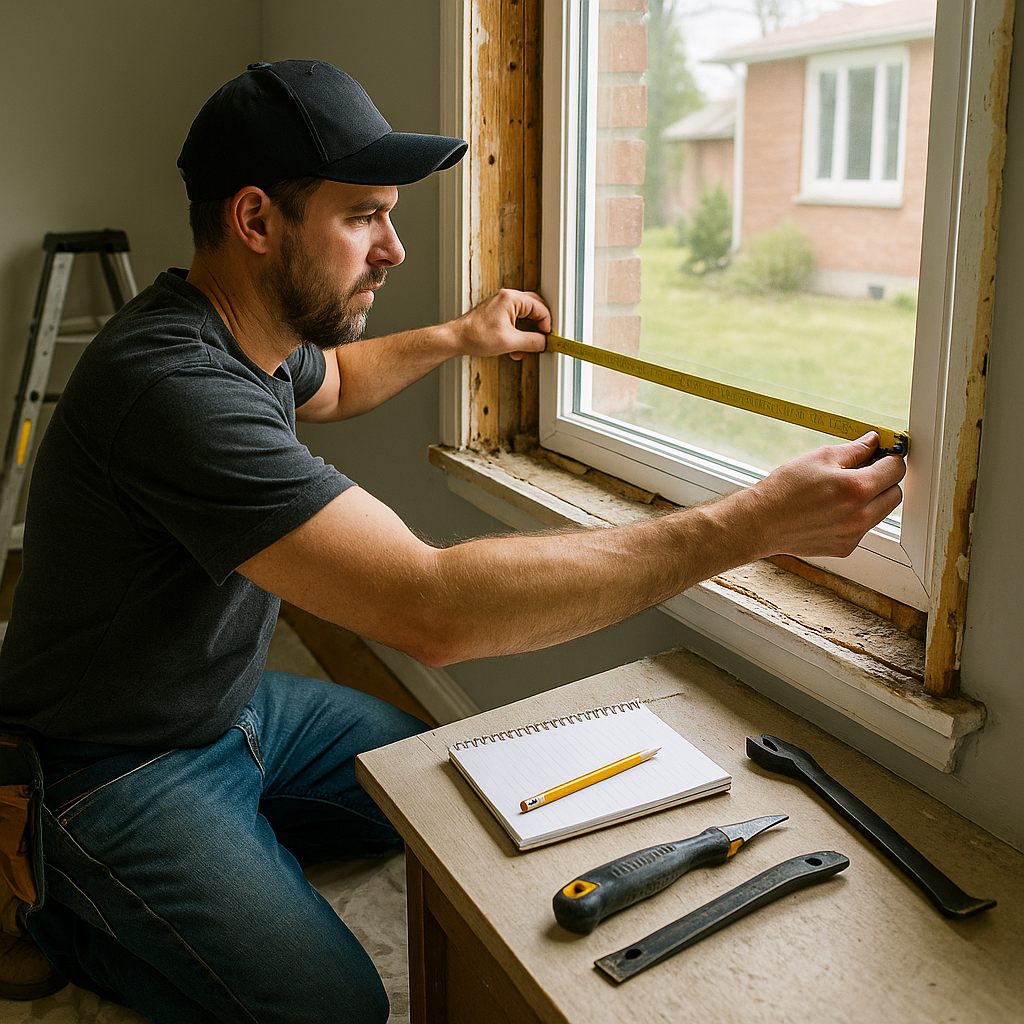
The biggest window mistake I see doesn't happen on install day. It happens with a tape measure, usually after someone says, "It looks standard."
I get why people ask how to measure windows for replacement. On the surface, it seems simple. Width, height, done. But custom windows for homes in Toronto, Newmarket, Aurora, Barrie, or anywhere else we work are ordered to fit *your* opening, not a shelf at a big box store. Be off by even a small amount and now you're dealing with ugly gaps, binding sashes, extra trim work, water risk, or a window that simply doesn't fit.
Here's the thing: I don't mind showing you how the measuring works. You should know the process. But I also want you to see why precise professional measuring matters so much before a custom order gets placed.
Step 1: Know what you're measuring
Before anyone pulls out a tape, you need to know which part of the window counts. For a replacement order, we usually measure the existing frame opening, not just the glass and not the trim you see on the wall. That's where DIY measurements go sideways fast.
On a vinyl replacement, the order size is based on the opening the new unit has to fit into. That includes checking the inside frame, outside conditions, and how much room we need for levelling, insulation, and sealing. In older Toronto houses, especially around East York or the Danforth, nothing is perfectly square anymore. The house has moved a little over 70 or 100 winters. That's normal.
- The visible glass size
- The finished trim size
- The brick opening outside
- The actual frame opening the new window must fit into
Only the last one tells us what to order. And even then, that number needs context.
Step 2: Measure width, height, and depth in more than one spot
If you want the basic answer to how to measure windows for replacement, this is it: measure width in three places, height in three places, and depth too. Then compare the numbers.
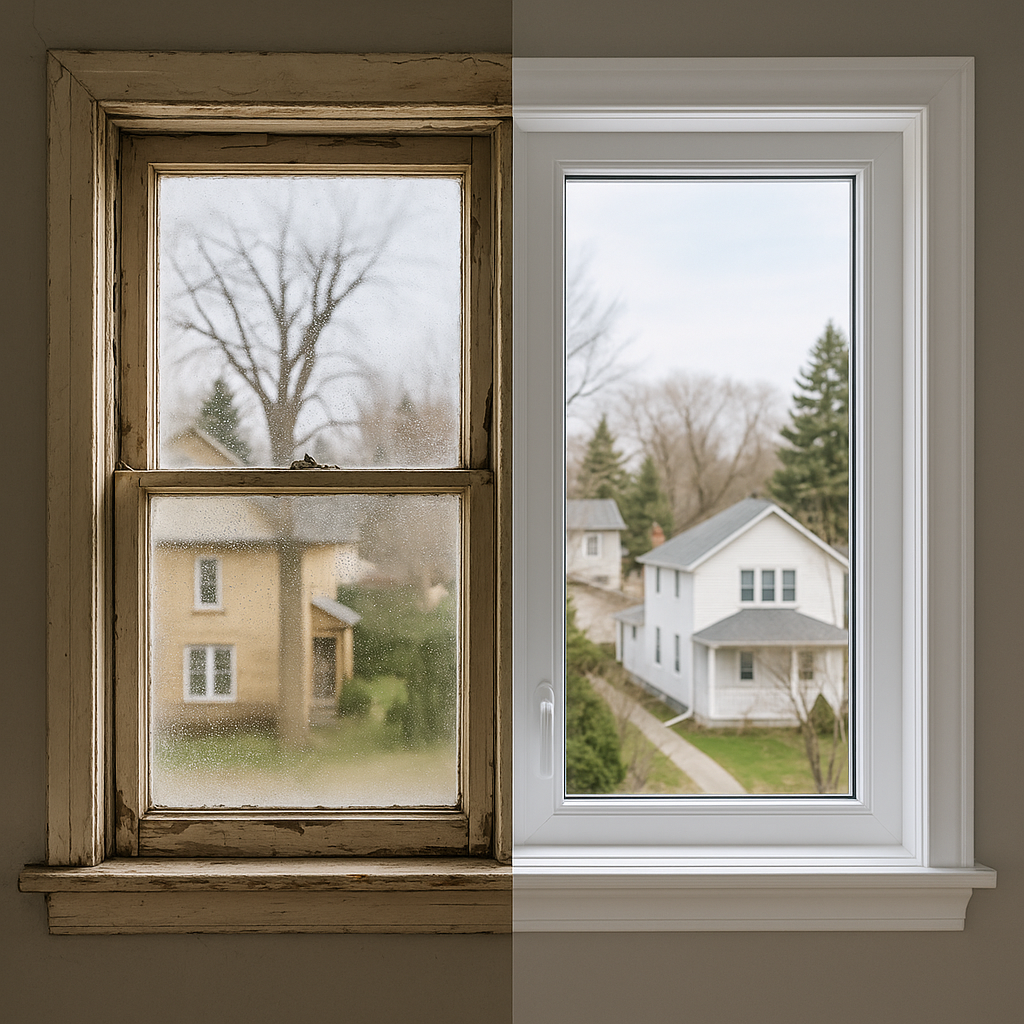
Width gets measured at the top, middle, and bottom of the existing frame opening. Height gets measured at the left side, centre, and right side. Depth is the front-to-back space the new frame needs. We write down every number, not just the smallest or biggest one right away.
Why all the repeats? Because openings lie. I was on a job in Richmond Hill last winter where the top width was about half an inch wider than the bottom. To the eye, it looked fine. To a custom factory order, half an inch is a mile.
Tip: If your numbers change depending on where you measure, don't average them and hope for the best. That difference is the story. It tells us the opening may be bowed, out of square, or built up with old layers.
And depth matters more than people think. Some replacement styles need enough room for the frame, sash, hardware, and insulation space. If you're comparing casement windows to sliders, for example, the measuring details can change a bit because the operating parts are different.
Step 3: Check if the opening is square, level, and plumb
This is the part almost every online measuring guide skips or rushes through. I think it's the most important part.
A good window measurer doesn't just collect sizes. We check shape. Is the sill level? Are the side jambs straight up and down? That's called plumb. Are the corners equal corner to corner? That's checking for square, often by measuring the diagonals.
If one diagonal is longer than the other, the opening is out of square. Not rare at all in Ontario. Freeze-thaw cycles, settling, old wood framing, years of repainting and patching — it all adds up.
Why you should care: a window can be the right width and height on paper and still fight you every day if the opening isn't true. Hard to lock. Hard to crank. Drafty in one corner. That isn't always a bad window. Sometimes it's a measuring problem that ignored the opening conditions.
Step 5: Calculate the order size, not just the opening size
This is the part that answers the question people don't always know to ask: if I measure the opening, why isn't that the size I order?
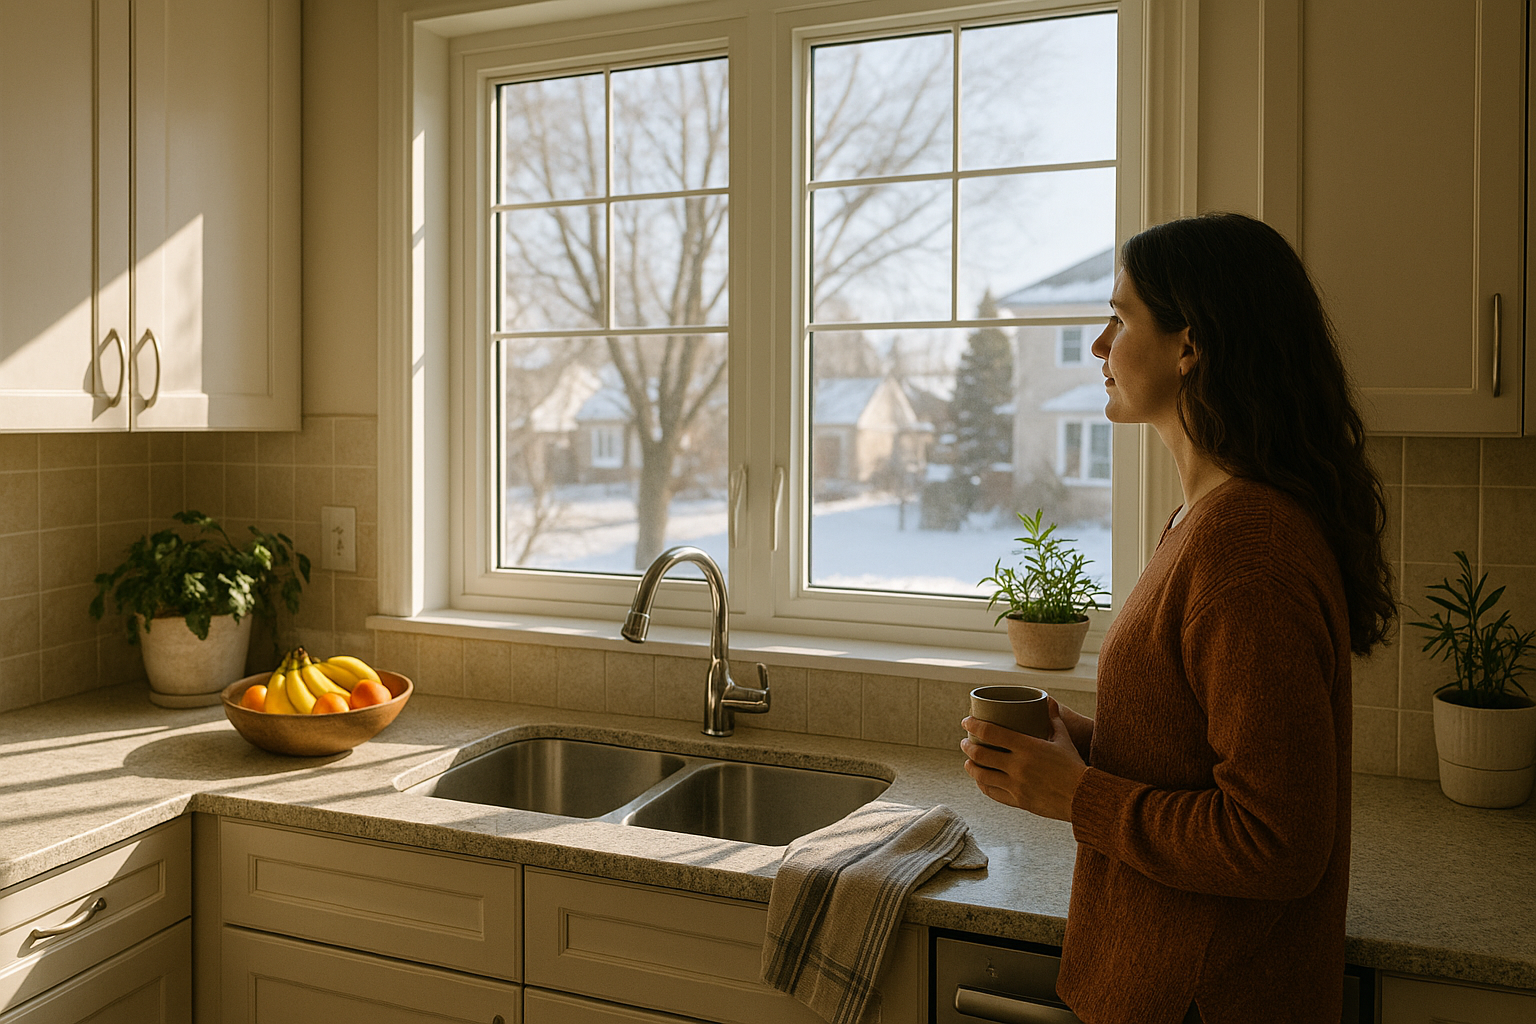
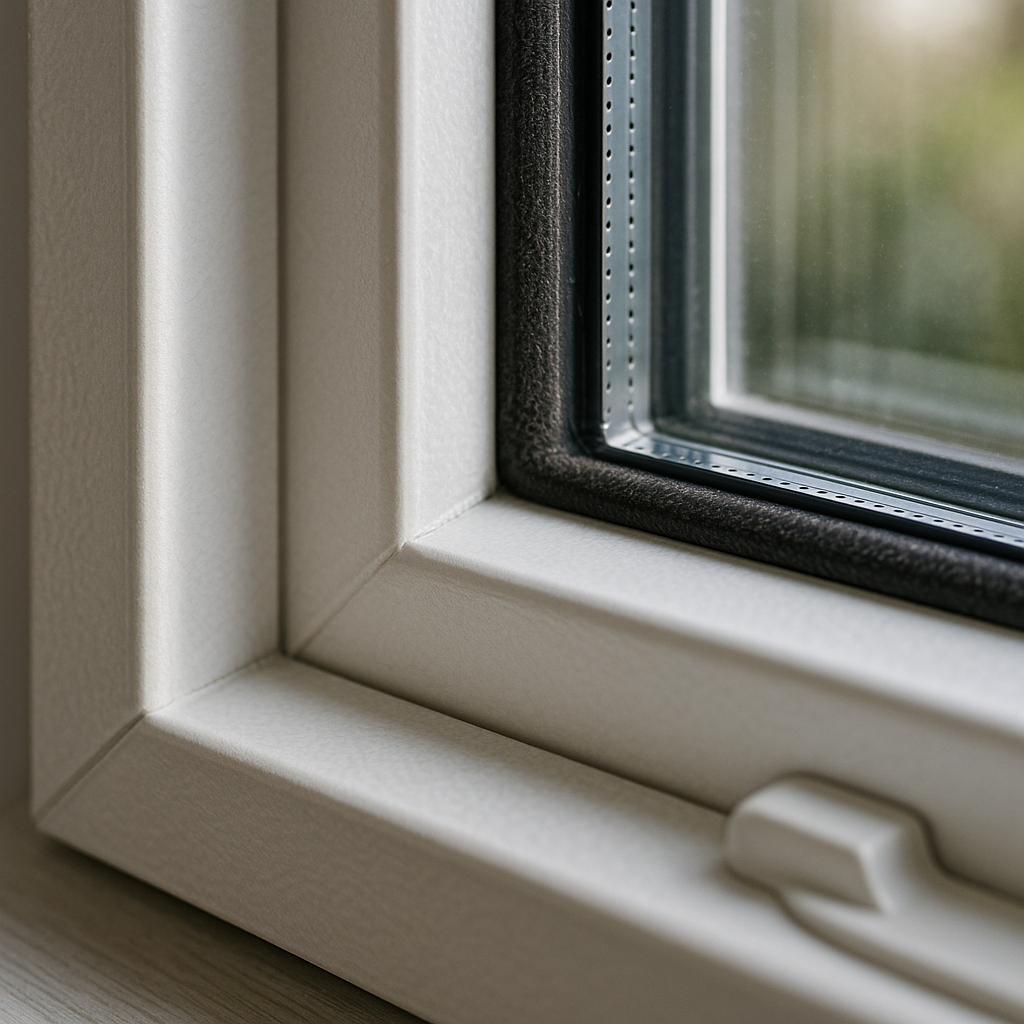
Because the ordered unit usually needs a little installation room. We call that a fitting tolerance. In plain English, it's the small gap needed so the new window can be set, shimmed, levelled, insulated, and sealed properly. Too tight and the install becomes a wrestling match. Too loose and you're asking trim and foam to hide a bad fit.
That deduction depends on the opening condition, the product, and the install method. This is why I get contrarian about generic advice online. A lot of articles say something like "subtract a quarter inch" as if every house from a century home in Toronto to a newer place in Bradford behaves the same. They don't.
A pro measure means we don't just take the smallest width and height and call it a day. We decide what the manufacturing size should be based on all the conditions we found. That's the number the factory builds to.
Step 6: Verify every detail before the order goes in
The final measuring step has nothing glamorous about it. It's checking everything again.
- Opening size and order size
- Style and operation direction
- Frame depth and exterior conditions
- Brickmould, trim, and colour details
- Special shapes or divided lites if needed
This matters because replacement windows are custom made. Once that order is submitted, there usually isn't a casual do-over. A left hinge ordered instead of a right hinge is annoying. A wrong size is expensive and delays the whole job.
If you want a quote, I'm happy to help through our contact page. And if you're comparing companies, ask who does the final measure, when they do it, and what happens if site conditions don't match the first visit. Good answers tell you a lot.
Why precise professional measuring matters so much
Here's my plain answer: because the measurement is the foundation of the whole project. The nicest vinyl window in the world can't fix a bad custom order.
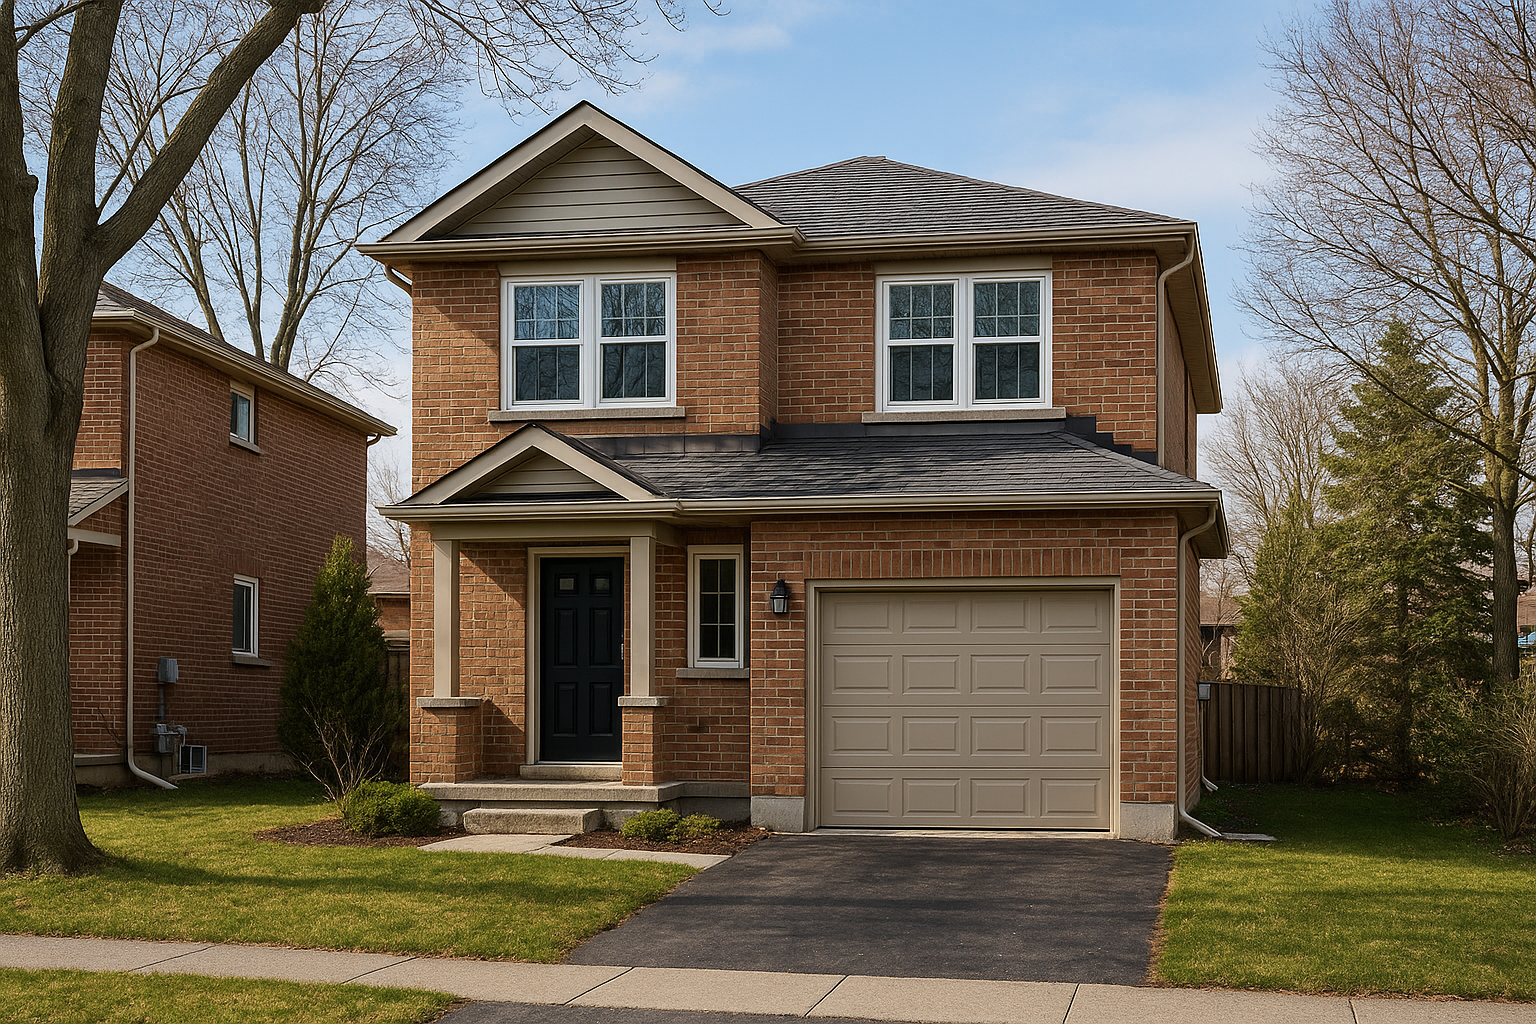
Professional measuring lowers the chance of the three problems you want to avoid most: a window that doesn't fit, a window that fits but performs poorly, and a window that forces ugly compromises on install day. In Ontario weather, especially with wind-driven rain, summer humidity, and those sharp January cold snaps, those compromises show up fast.
Can you measure your own windows to get a rough budget? Sure. That's useful. I have no issue with that. But for the final custom order, I don't think guessing, averaging, or trusting that every opening is standard is worth the risk. Not on a product you're hoping to live with for a long time.
A tape measure is cheap. A wrong window isn't. That's the whole story.