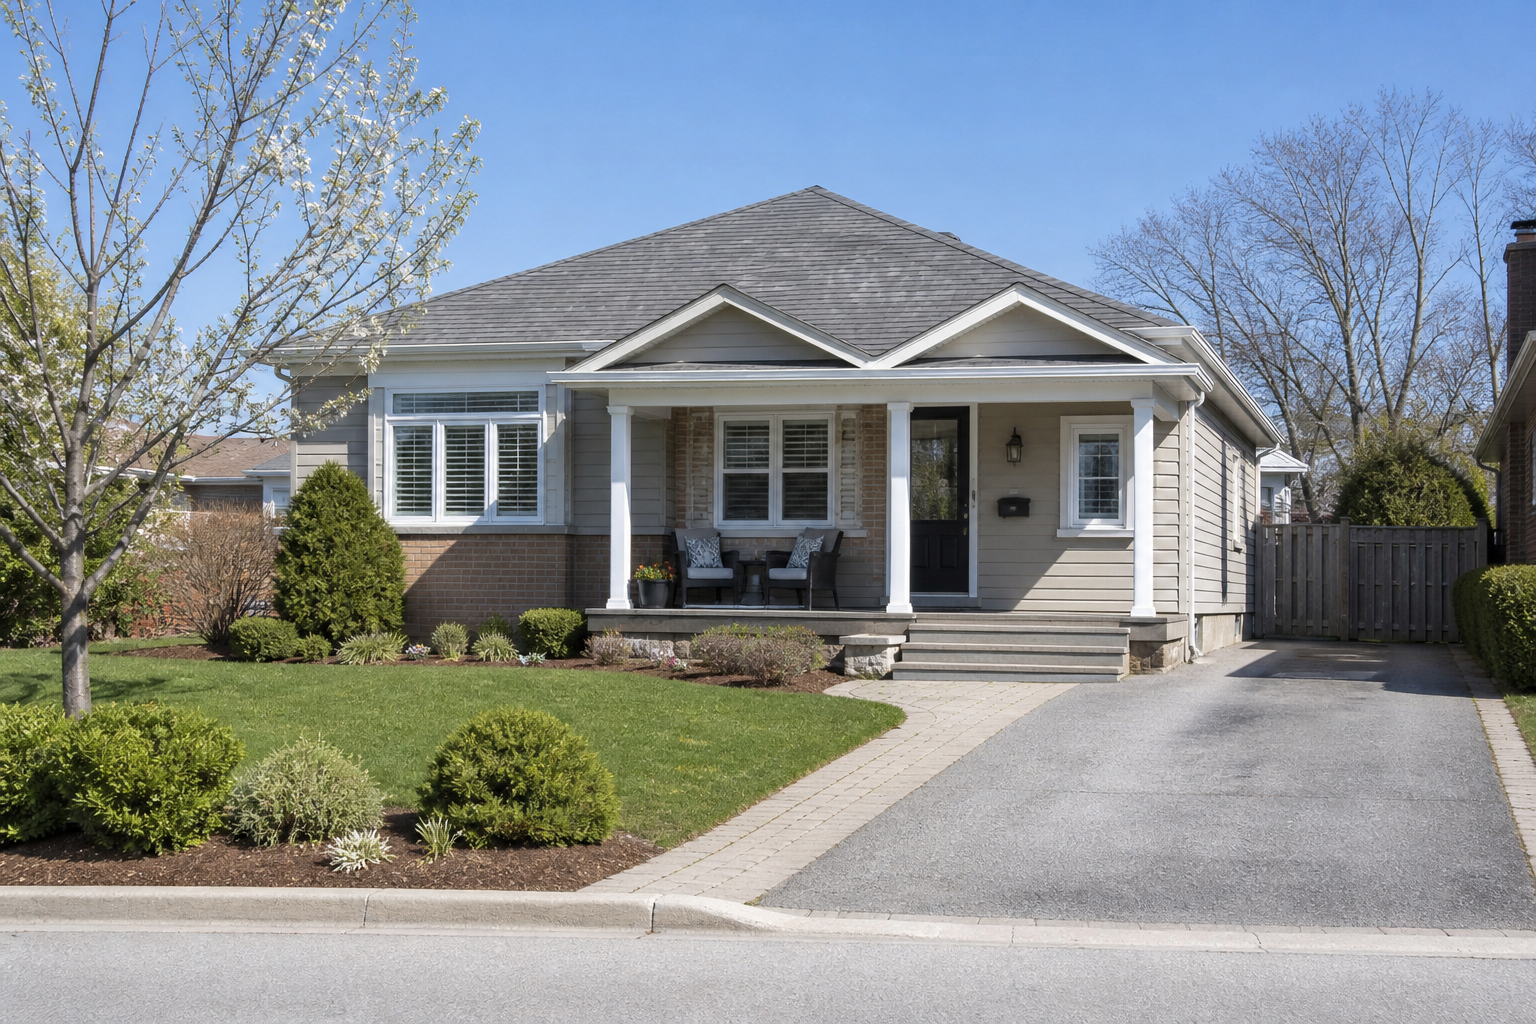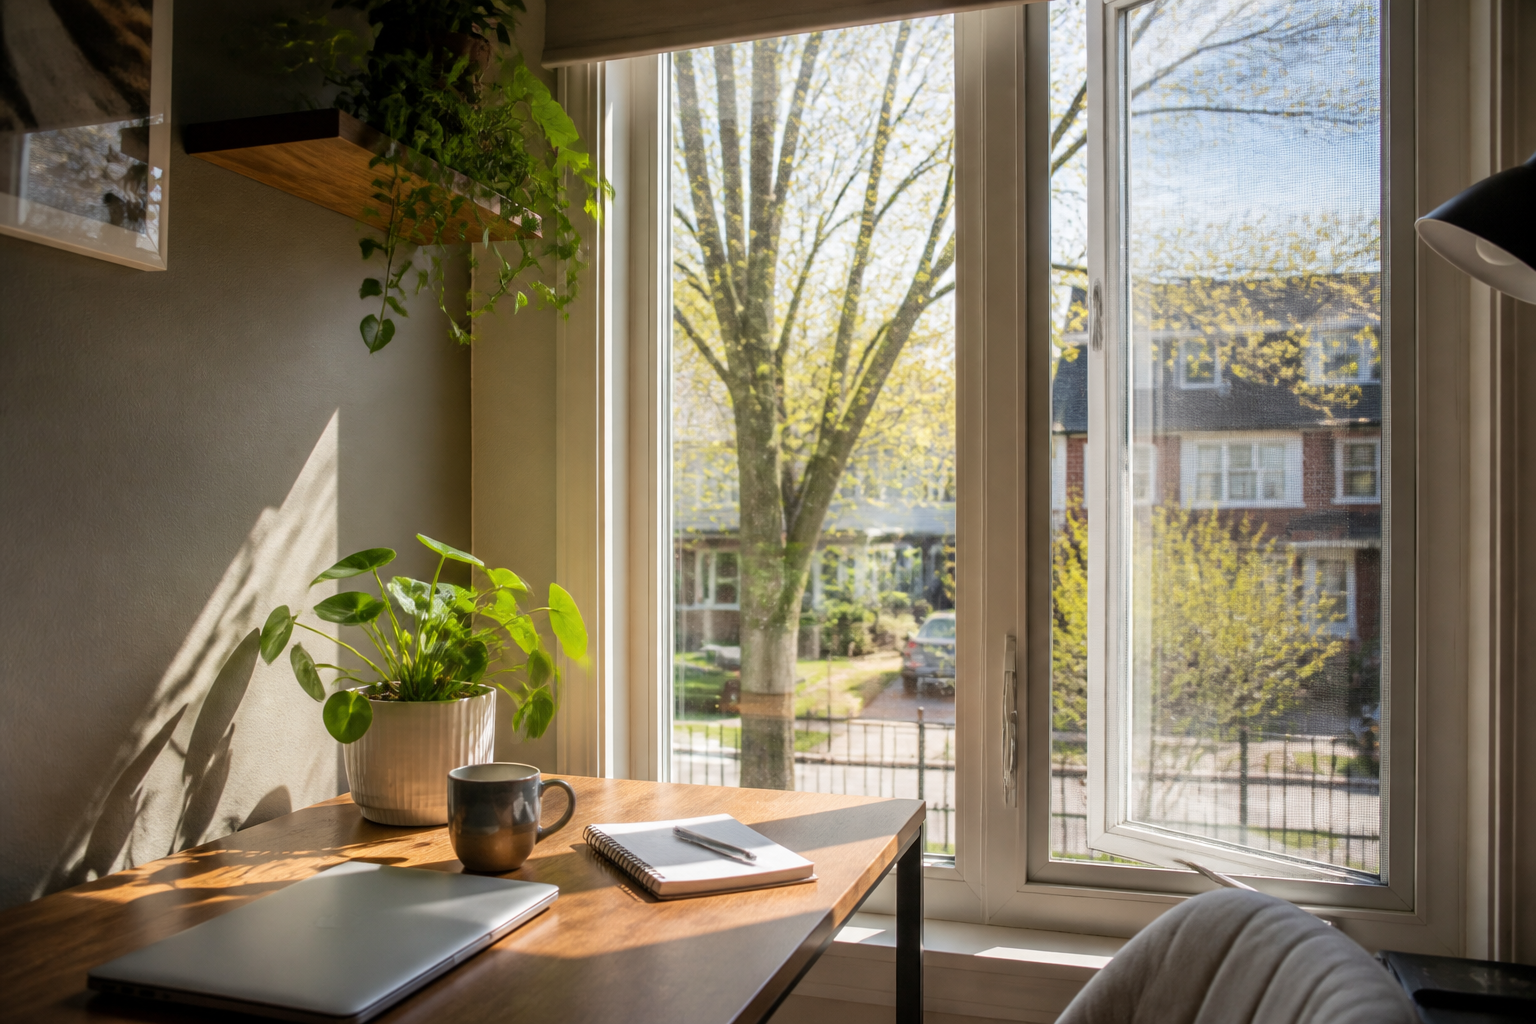
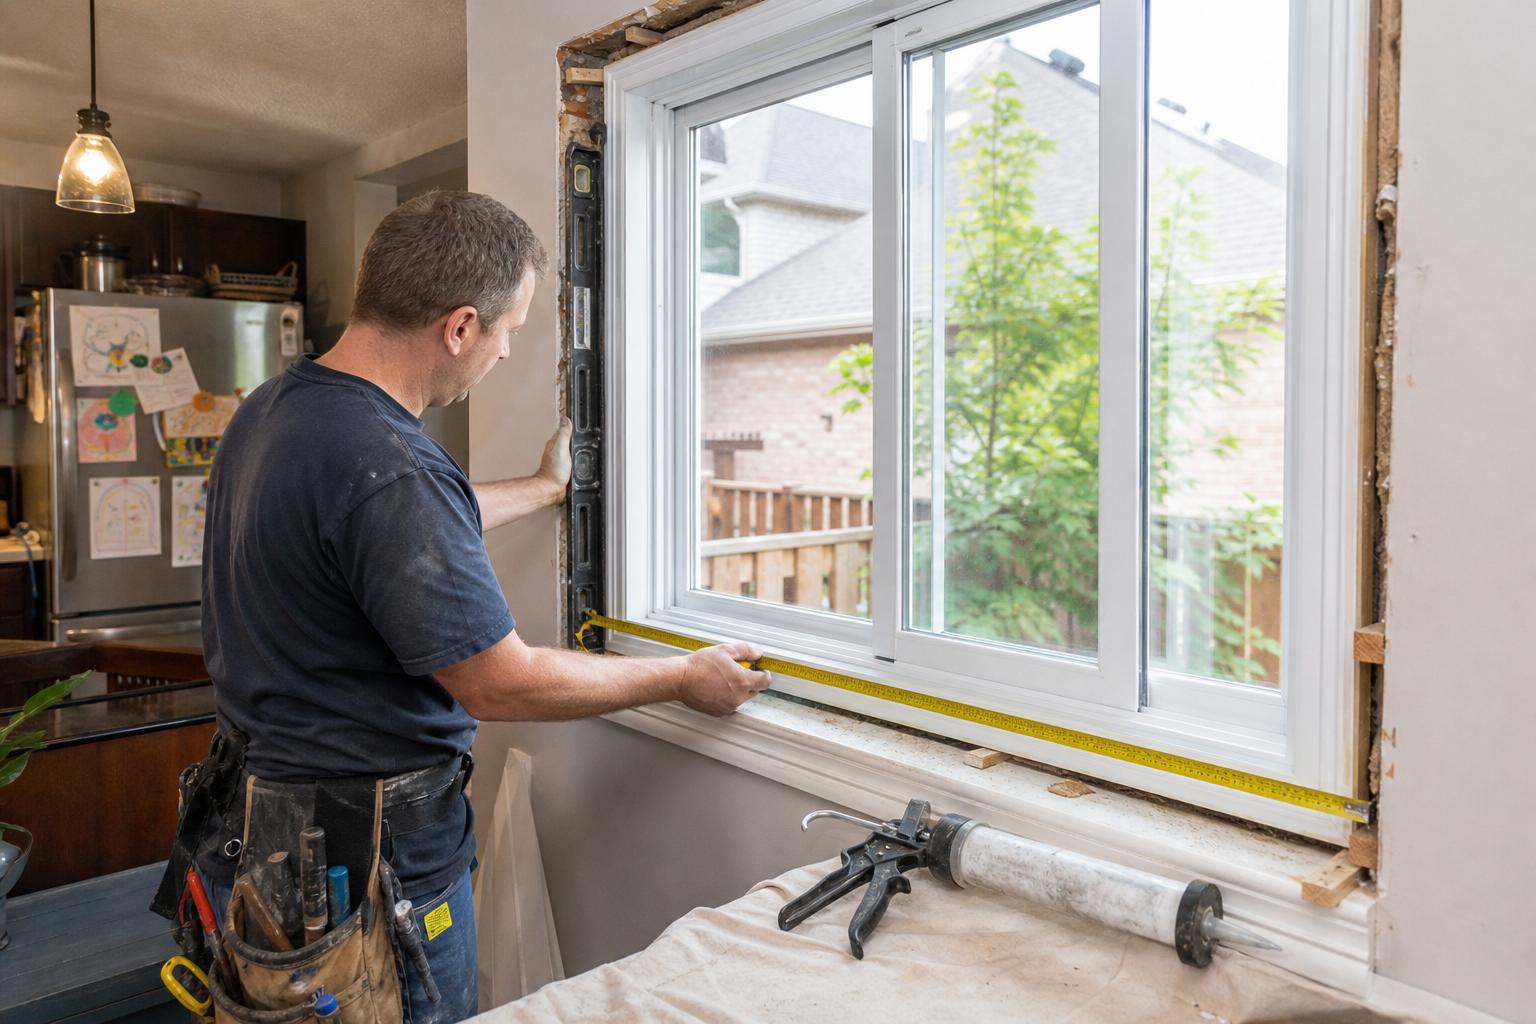
A few months ago, we changed the windows in a brick bungalow in East York, and the homeowner said something I hear all the time: “The new windows are great... but why does this room still feel a bit plain?” The answer wasn’t the glass. It was the trim.
Here’s the thing. The window itself does the heavy lifting for comfort. But the trim and casing do a lot of the visual work. They can make a builder-basic window look sharp, make a small room feel taller, or make a beautiful new unit look oddly cheap if the details are off. This window trim and casing guide is about that one nagging problem: how to make the window look like it belongs in your house, not just got dropped in there last Tuesday.
1. Trim is what makes the window look finished
Most people shop the glass, the opening style, and the energy numbers. Fair. That matters. But once the install is done, your eye lands on the border around the window. Inside, that border is usually the casing — the finished trim piece around the frame. Outside, it might be brickmould, flat stock, aluminum capping, or a built-up trim detail depending on the house.
And yes, people mix up trim and casing all the time. No big deal. In plain language, casing is the trim right around the window opening. Sill and apron are the lower pieces on the interior. Brickmould is the shaped outside trim often seen on older GTA homes. You don’t need to memorize the words. You just need to know this: the border changes the whole look.
2. Match the trim style to your house, not a trend
This is where money gets wasted. Someone sees a sleek flat trim detail online, loves it, and puts it into a 1920s Riverdale semi with chunky baseboards and old door casings. Suddenly the new window looks like it came from another house.
A better move is to let the house tell you what belongs there. In an older Toronto home, a thicker traditional casing often looks right. In a newer Aurora subdivision home, simple flat trim can look clean without trying too hard. In a farmhouse near Bradford or Innisfil, a wider header or a slightly deeper sill can add some character without going full Pinterest project.
- Flat trim: clean, modern, easy to repaint later
- Colonial or stepped trim: more traditional, works in older homes
- Wide casing: makes a small window feel more substantial
- Minimal exterior trim: good for modern homes with simple lines
If you’re also picking new window styles, look at the trim and the window together. A trim profile that suits casement windows might not give the same feel around a broad picture window. Different shape, different visual weight.
3. Interior trim changes the room more than you think
Interior trim is where you notice scale. Thin casing can make a room feel plain. Oversized casing can crowd a smaller bedroom or bathroom. I usually tell people to look at the other trim in the room first — baseboards, door casings, even crown if you have it. The new window trim should feel like part of that family.
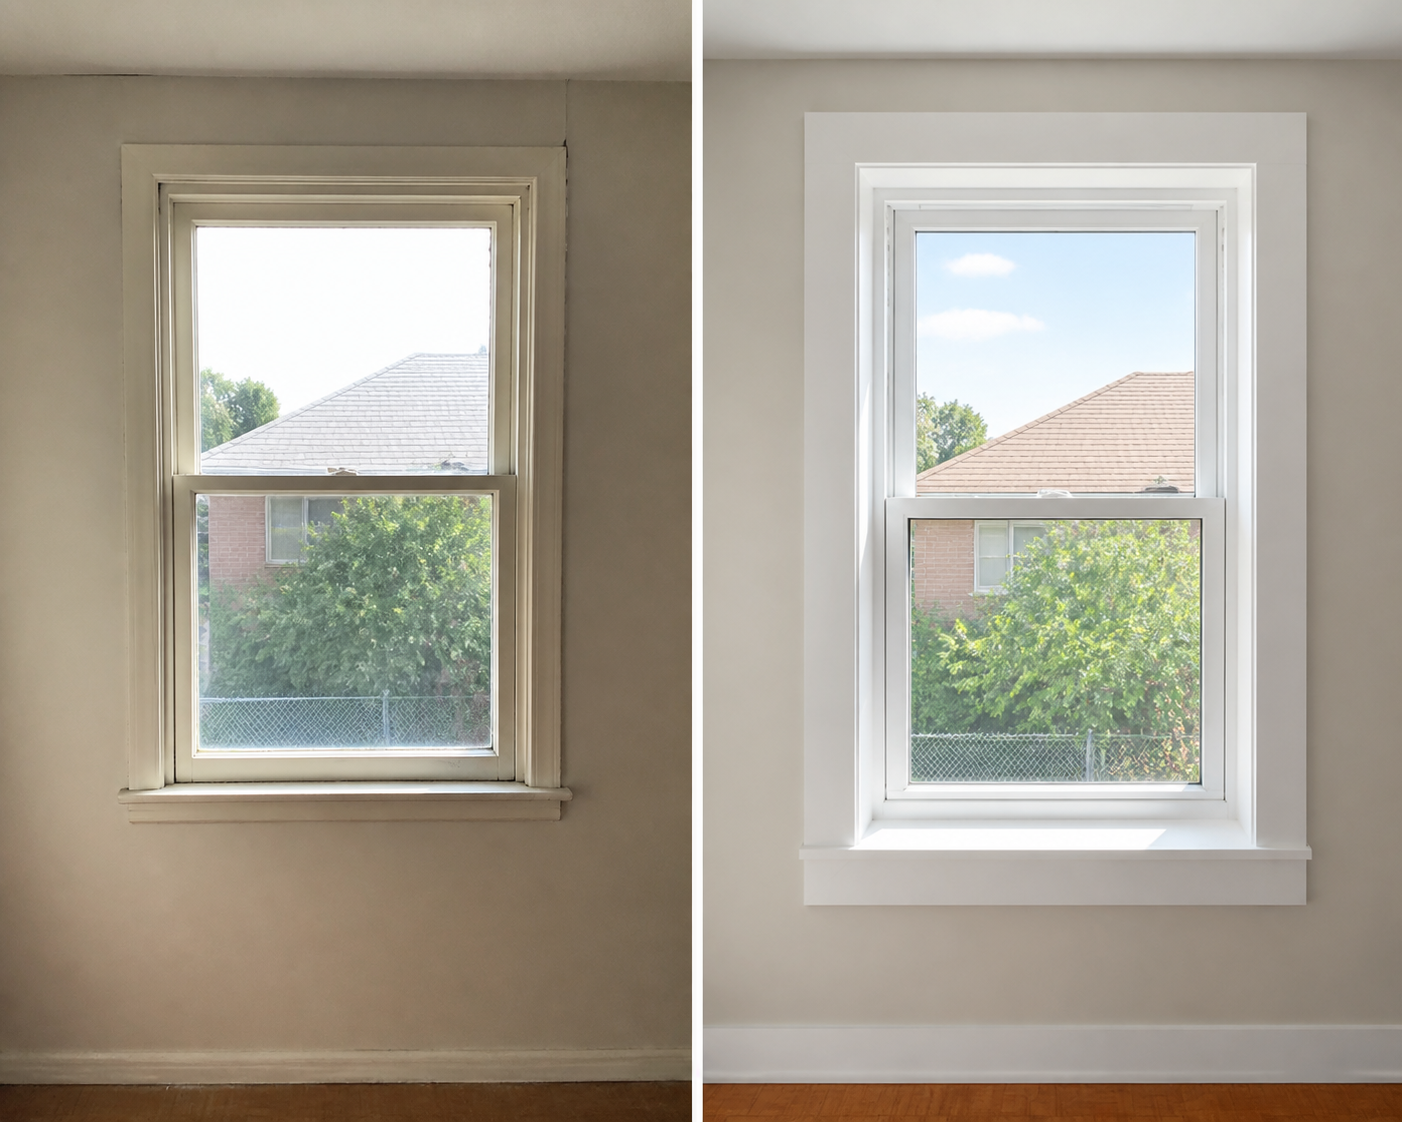
One trick that works well in many Ontario homes: if the ceilings are low, don’t get too fancy. Cleaner lines help. If the room has more character already — oak floors, older doors, deeper baseboards — a plain skinny casing can look underdressed.
Tip: If you’re replacing one window at a time, bring a loose piece of your existing interior trim style into the quote conversation. A photo helps. A real sample is better.
We did a place in Newmarket where the owner almost chose the narrowest trim because it was the cheapest option. On paper, fine. Once we held up samples beside the room’s existing 3 1/2-inch door casings, the cheap option looked lost. She changed course. Smart call.
4. Exterior trim has to look good and survive Ontario weather
Outside trim isn’t just decoration. It deals with water, sun, wind, freeze-thaw swings, and the odd sideways rainstorm that shows up in October for no good reason. So your choice needs to work hard.
On many vinyl window replacement jobs, the outside finish includes aluminum capping over wood trim. That’s the bent metal wrap you see on lots of GTA houses. It gives a neat look and cuts down on repainting. But not every house should be capped the same way. Older homes with original details can lose character if everything gets flattened into plain white metal.
Brick houses in Toronto often suit a proper brickmould profile. Siding homes in Barrie or Simcoe County might look better with flat exterior trim that lines up with the wall detail. The point of this window trim and casing guide isn’t “pick the fanciest option.” It’s pick the one that fits the house and stands up to January.
5. Trim material is all about trade-offs
There isn’t one perfect material. There’s the one that suits your budget, maintenance tolerance, and house style.
- Painted MDF inside: lower cost, smooth finish, good for dry rooms, but not my first choice near a steamy bathroom if moisture is a regular issue.
- Solid wood inside: classic look, can be stained or painted, good for older homes, costs more and moves a bit with humidity.
- PVC or composite trim: more moisture-friendly, useful in wet spots or some exterior details, usually costs more than basic interior trim.
- Aluminum capping outside: low maintenance and common on replacement jobs, but the look depends heavily on how carefully it’s bent and fitted.
That last point matters. Good trim work is part material, part craftsmanship. I’ve seen decent material look rough because corners were sloppy, joints opened up, or caulking was doing way too much of the visual work. Caulk is not a design feature. It’s backup.
6. Cost swings more on detail than people expect
If you’re trying to budget, here’s the honest answer: trim costs can range from modest to “wait, why did that jump so much?” fast. Not because anyone is being sneaky. Because trim is labour-heavy once you move beyond a basic finish.
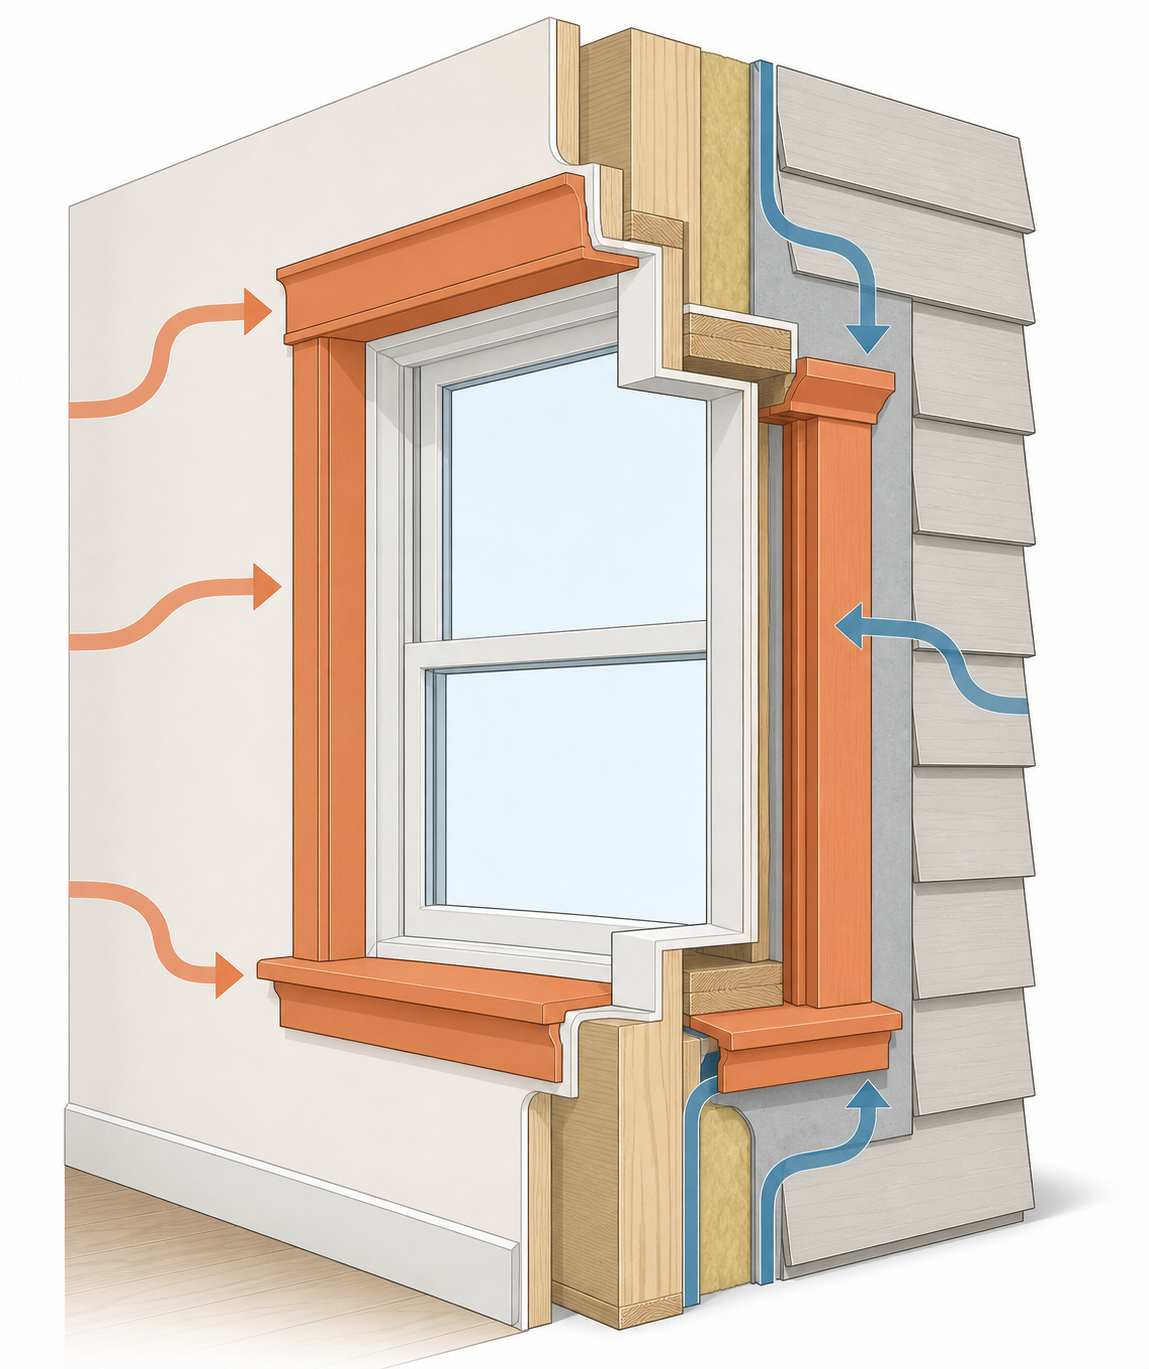
A simple flat interior casing is usually less work than built-up traditional trim with wider heads, deeper sills, returns, and custom fitting around walls that are — how do I put this kindly — not straight. And in older homes, they often aren’t. Add exterior detail, custom colour matching, or repairs to old wood around the opening, and the number climbs.
The smart question isn’t “what’s the cheapest trim?” It’s “where will I see the difference every day?” Usually that means spending a bit more in the front-facing rooms and keeping secondary spaces simpler. If you’re already weighing replacement details, our posts on retrofit vs full frame windows and local work across the Toronto & GTA area give some added context on how finish details tie into the whole job.
7. The best trim choice is the one that stays consistent
Here’s the core idea I want you to leave with: trim works best when it makes the whole window feel intentional. Not flashy. Intentional. If the inside style suits the room, the outside profile suits the house, and the material suits Ontario weather, the window looks right. That’s the win.
If you’re replacing multiple windows over time, write down the trim details you chose. Width. Profile. Material. Colour. Future-you will be grateful. Nothing looks stranger than three good windows finished three different ways because nobody kept notes.
And if you’re stuck between two trim options, pick the one that matches the house better, not the one that shouts louder in a sample corner. Samples lie a little. Installed trim tells the truth. If you want a second set of eyes on it, you can always contact us. I’m happy to talk trim. Oddly enough, I mean that.